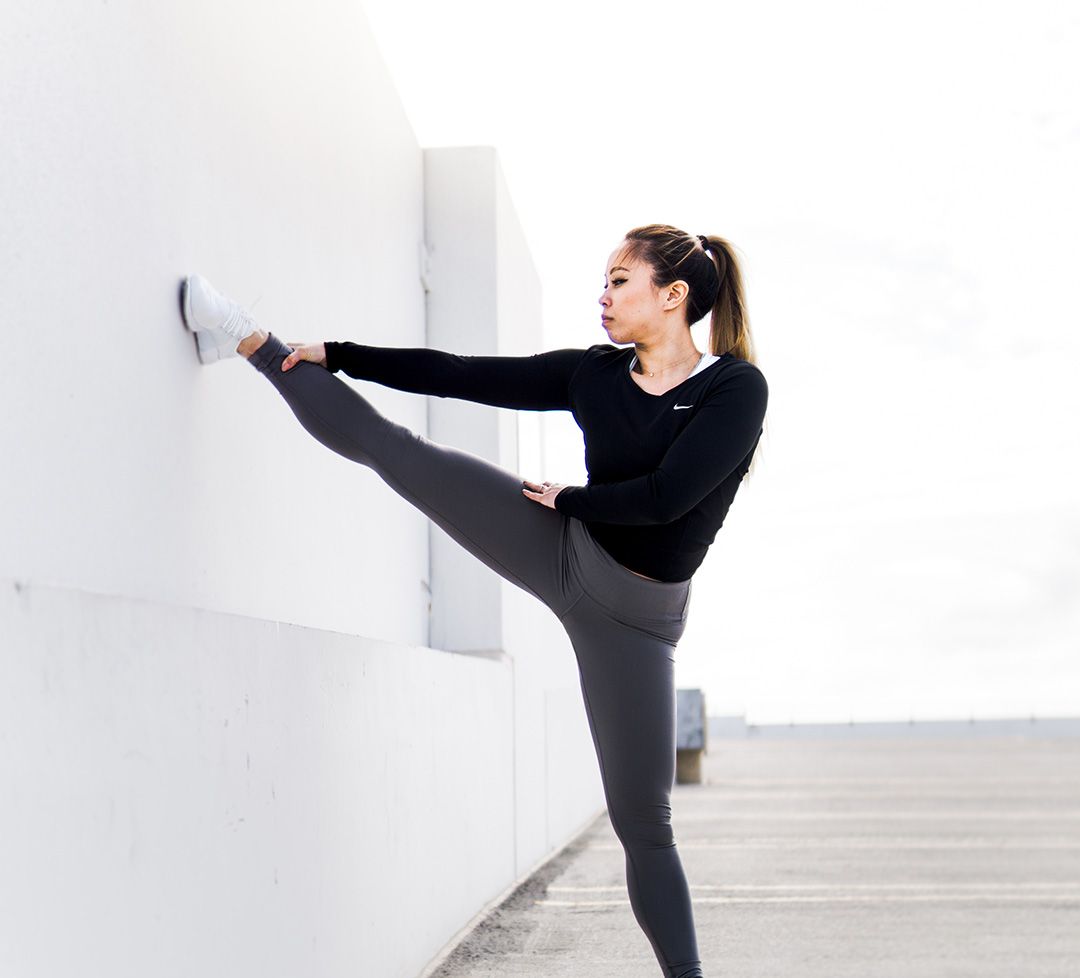
What pops up in your head when it comes to dancing in the 70s?
If you search 1970s in Wikipedia, you will get funk in the music section. The notable artist includes James Brown. It was that big. Funk in dance category was no exception.
Now rest assured, I am not here to give you a history lesson. We are not dinosaur. But the impact of funk on our dancing is still relevant today. A lot of its essential moves are incorporated into our modern culture. A good example is Uptown Funk of Bruno Mars. Funk dance still stands.
In fact, thanks to Bruno, once dying bleed of funkers are reviving. The trend is coming back to us today.
If you can demonstrate your proficiency in one of locking moves, your dancer's respect shoots up the roof, turning you from a shallow trend follower into a deep authentic dancer.
Shall we dive in?
Pacing - Locking Fundamental
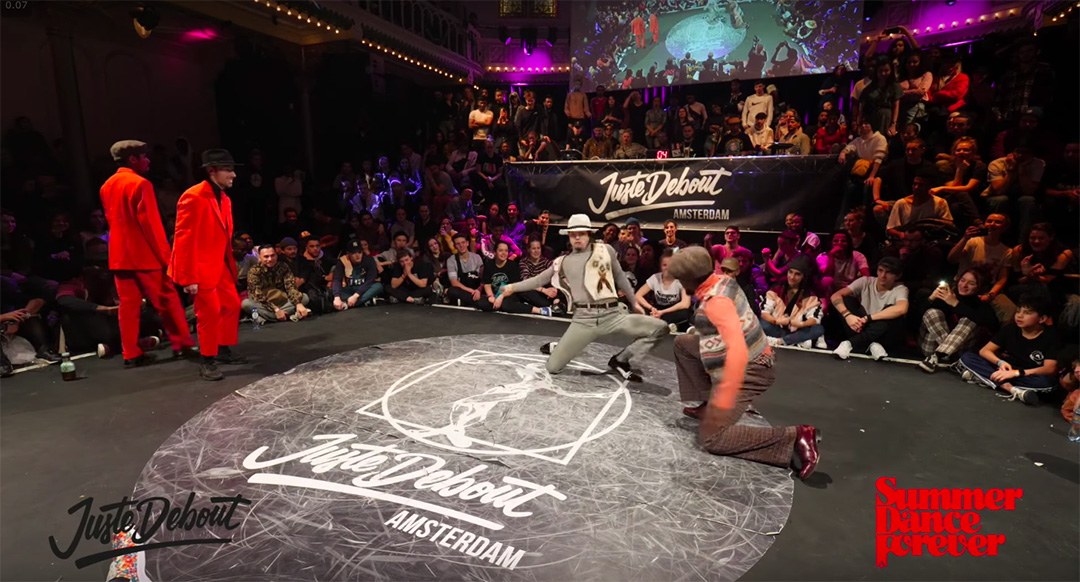
The pioneers of locking genre is attributed to The Lockers. The group was formed in 1971. Yes, that is way before I was born. Along the numerous public performance from Saturday Night Live to Soul Train, they also established names for many of the locking techniques.
Of all of locking moves, pacing is one of the most important move (arguably, the second most after lock). It comes from Latin passus to mean stretch. As the word describes, your will be stretching out your arm. The fundamentals of pacing is your arms + groove.
(For those who are more visual, I collected a list of YouTube tutorials in the bottom. They are mostly old and short unfortunately. My focus is a detailed breakdown and practice tips)
Arms
Arms cannot be further divided into forearms, elbows, and hands.
I will touch on a different combinations your arms can reach out to below. Just be aware there is more creative room for you to play with. For now, we will assume the most basic ones: onehand-side.
There are 3 key positions you have to remember.
- Relaxed Standing
- Elbow Pulled Up
- Arm Spread Out
They are pretty simple on its own. I bet anyone reading this can do them. Let me elaborate it a fine detail.
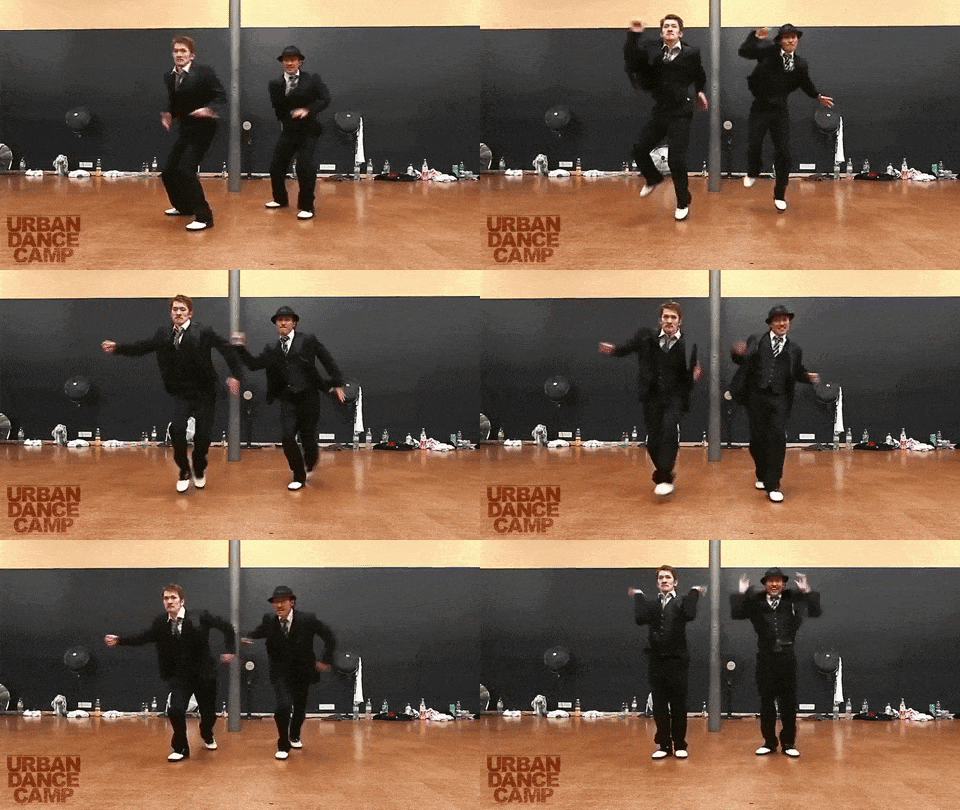
First, you start with the default relaxed position. Your hands are on the side hanging down. Let the gravity do the work. It will be easier with your knees slightly bent for the next movement, but your upper body is exactly the same as when you are standing.
Then, you bring up your hand to your chest. A little trick here is to start your carry-up movement from your elbow instead of hands. Now, your hands will be stationary in front of your chest, while the elbow is on the side, horizontal to your shoulder.
Now, push it outward away from your body. That means right if you are using the right hand; left in the other.
Once your hand is in the maximum reach, your hand can follow back the path it came, until you are back to the default relaxed position again.
Throughout, your hand remains closed slightly and mostly relaxed. The shape is similar to the one when you are about to knock someone's door. The wrist should stay relaxed guided by the momentum.
Practice Tip
This one cycle happens in 1 beat. You will likely find it fast for most music. On top of that, its side movement is foreign to many of us and feels awkward in the beginning. A tip on the practice is repetition. Repetition, Repetition, Repetition. You have to bake pacing into your muscle.
There is one thing you have to pay a close attention for - angles. As your forearm muscle starts to get tired, it tends to be whiny about how hard it is to fight against the gravity. Your arm starts to tilt downwards like a retarded airplane. That's no good. You want to keep your arms up in alignment with your shoulders to make pacing look sharp.
One way to combat that is to stick a target marker on the wall that is at your shoulder height. And, do pacing towards that target. You can always glance your side to check if your hand is properly aimed.
This is the hardest step. Once you master the hand, the rest is easy.
Chest
Let's talk about the groove.
According to Human Body Dynamics, your arm and hands represent less than 5% of your total mass. It is a tiny number compared to your trunk (chest, back, abdomen), which carries 50.8%. While it is hard to move your back and abdomen, the chest is relatively easy. This is what differentiates between a simple dry routine and weighty groovy dancing.
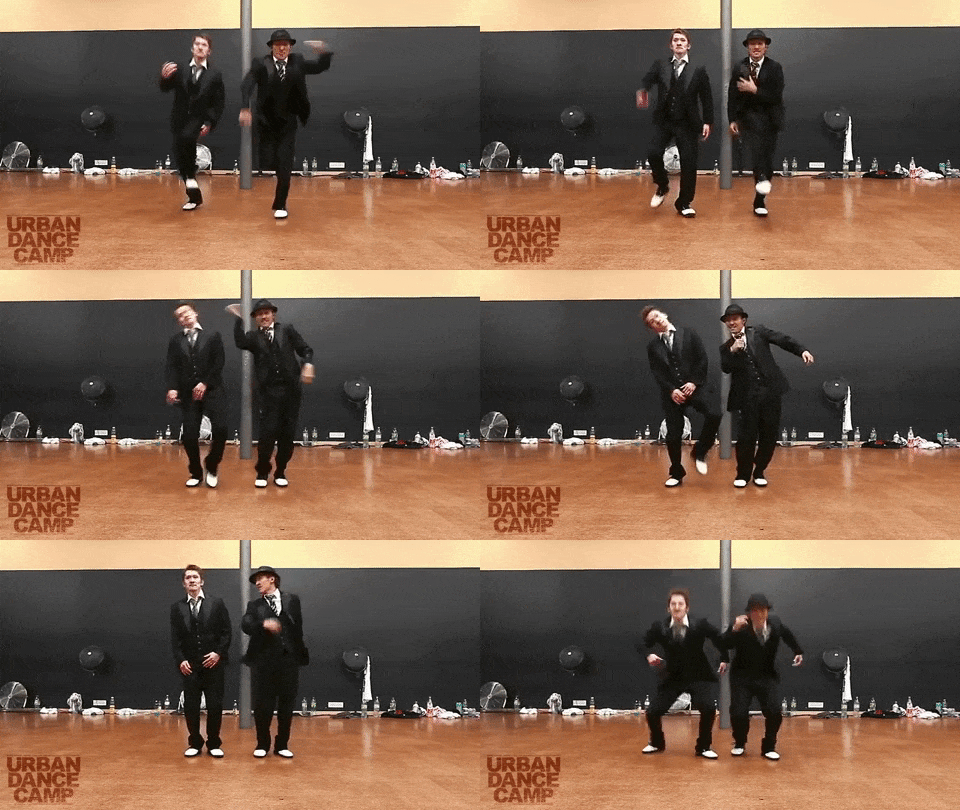
You can experience the chest move easily. First make sure you are relaxed. And inhale as much as possible. And exhale them. You can feel your chest go up and down naturally. Groove is that movement. Simple right? Not yet. It is pretty tricky when you do this with other move and with music.
In pacing, your chest will follow along your hand's movement. When your elbow carries up your hand upwards initially, your chest should go up too. Maintain that while the hand pushes outwards. And, when you go back to the default relaxed position, the chest will go down as well. Breath in, breath out, hand up, hand down.
The bonus point for you if your legs can go up and down along with your chest.
The groove will give dynamism to your dance. OR I say you will look more like a dancer instead of a robot mechanically shifting its gears.
6 Variations in Pacing
So far so good? I bet you have found the basic pacing straightforward and easy. Almost too easy. And you are exactly right.
The power of pacing comes not from its flushyness but from its flexibility.
Here, I will touch on to the 6 variations you can play with. The list is by no means exhaustive. But I think these hand movements are so fundamental that once you master them, you will find it a piece of cake to mix it with any step or genre, easily creating your original move. This is how dancers expand their repertoires.
- Onehand-Side
As I've already described, onehand-side is the most basic of all. The mechanic applies to all the rest.
Because your hand goes sideway, it goes well in a combined routine with a partner. As much as locking is funk, fun tagging with a friend amplifies the entertainment value.
2. Onehand-Front
You must have seen jabbing in boxing. He punches an opponent as quickly as possible and brings it back also as quickly as possible to get ready for a defence.
Onehand-front pacing is the same. You push out your hand forward as quickly as possible. The only difference is you are using the back of your hand instead of the fist (maybe some ancient Kung Fu uses hand's back:)).
Assuming that your audience is in the front, you can mix this with a turn using every personal sphere you have. The last thing you want to do is bore your people with a never-ending 2 dimensional movement.
3. Onehand-Top
When you accidentally bump into a grizzly bear at a national park, what do you do?
You make yourself look bigger. That is to portray yourself as a fierce being to scare the incoming bear. It works on a bear. It works on humans too.
Let me elaborate. Through dancing, you are communicating your emotion. By pulling up your hand directly upwards towards the ceiling, you will look taller and powerful for the audience. You need to turn yourself into a formidable dancer to reach out into their hearts.
4. Onehand-Bottom
Shake the ground, and your will generate an earthquake.
This falls onto the rather rare moves, but certainly adds a unique kick in your routine. It is as if you are punching the floor like Karate punch. From the relaxed position, you carry out your hand once, and drop it along with your knees (therefore waist).
It is important that you make your knee bending visible. Your whole body is dropping and it makes your whole movement heavier.
5. Doublehand-Side
So far, I have explained pacing using one hand only. But, bringing 2 hands double the energy. I only recommend this after you are comfortable doing pacing for both left and right hands.
Visualizing it as a T shape might help. Doing it slowly, 2 hands are not as difficult. But with music, things get harder because of the syncing problem. Usually your dominant hand comes out stronger and sharper. Assuming you are a righty, your right hand comes out and comes back way faster and the left has no time to catch up. After 5 laps, the hands go out of sync, and you will feel frustrated with your slower hand for not moving as you wish. This is the biggest reason amateur lockers only do a single-hand pacing.
The obvious solution is to practice your left (non-dominant) hand viciously. It is ok to practice it one hand at a time. In the meanwhile, you can cover up your weakness by mixing double and single in a performance.
When you have enough confidence with both hands, you should go over all 1-4 with double.
6. Doublehand-Low
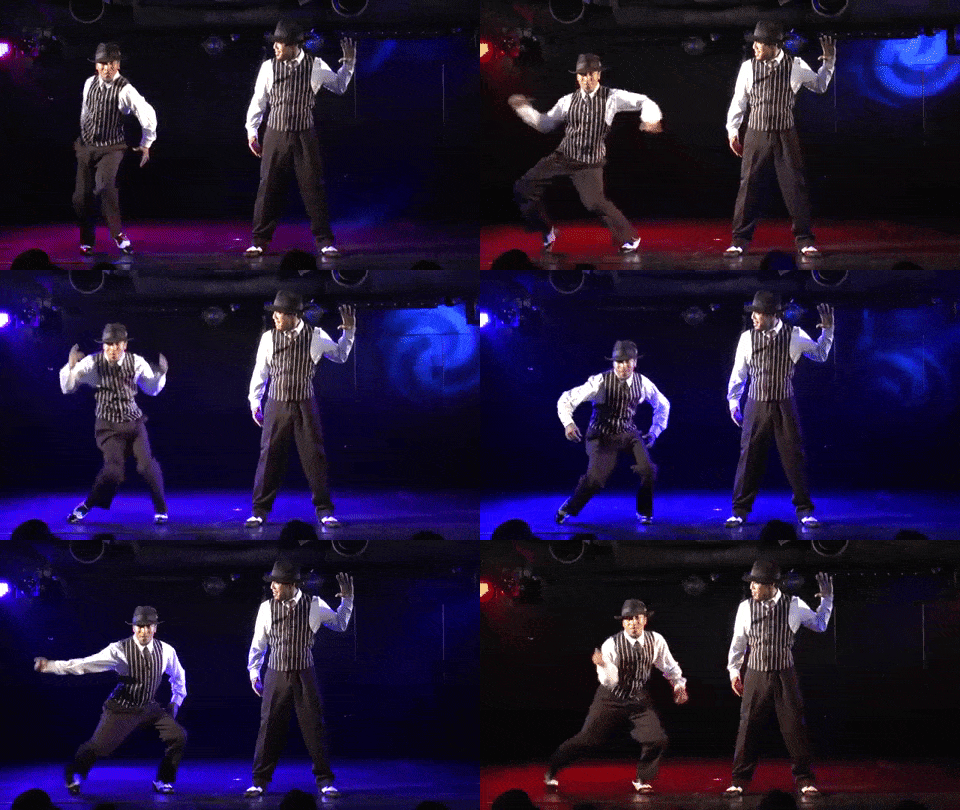
This is my favourite. You are still pushing out to the sideways, but you do it with knees bent and upper body hunched.
It looks like an inverse T. Or metaphorically, I like to see it as a Ninja sandwiched by 2 enemies drawing 2 swords low enough so that he will cripple enemies' legs while escaping their attacks.
No? You don't get it?
That's ok. You will get it one day....
This move is best when combined with the regular Doublehand-Side. When you mix the two, you will be expanding your dance sphere much bigger and it will look very dynamic.
Tips for the Advanced
Momentum is Your Friend
How confident are you with your stamina?
Pacing is easy in theory, but it is hard in practice. Each cycle of hand movement (relaxed, expanded, relaxed) completes in 1 beat. Imagine that for 32 beats in less than 30 seconds. Add legs to that, and you will quickly exhaust yourself.
To get used to it, take an advantage of your momentum. I mentioned earlier to use your elbows to guide your hand movement. You should level up and start using your shoulders.
In physics, there's a concept called Conservation of Momentum. It has something to do with mass and velocity. But for our context it is enough to know the earlier your pacing starts from, the less tiring you get. That means you should start your move from your shoulder, elbow and to your hands. You can imagine your arm as a line of whip you are trying to control.
Try it yourself. It works.
An added benefit is your reach becomes much longer when your shoulder leans towards the direction of your pacing.
Pierce the Beats
What is equally important to reserve your stamina is to increase your speed.
The way to make it look nice is to wait for the beat as long as possible in a relaxed position. Only when the beat is about to go off, catch it as fast as possible. And put those badass arms right back into a default relaxed position as if nothing has happened. It is like Samurai pulling out the sword so fast you won't be able to see when he's moved his hand.
That will make your move snappy, and you will look like you are actually dancing to the song instead of demonstrating a monotone choreography. I know it is nuance, but you will start to understand it, once pacing becomes a second nature to your muscle memory.
Make Legs Work
You can do pacing on the spot. As long as you put in the hands and chest (and maybe a bit of knee groove), you look like a real locker.
But let's be honest, no one wants to stare at a tree. You will get bored yourself. We need to talk about the steps.
You can follow the basic hiphop step videos. One of my favourites is Mihran Kirakosian. He is a hiphop dancer, but as far as leg movement goes, it is suffice for us. In this 3 simple dance move video, the first 2 moves are easy to incorporate it into pacing. You only need to add pacing hands to it. One step equals to one hand movement.
Pacing in a Big Picture
So you might ask about this pacing; how does it all fit together into locking? Locking is actually dance that incorporates quite a lot of basic moves. It is the snappiness and creative combination of steps and movements that differentiate great dancer from the mediocre.
I cant stress enough of the importance of repetition. You don't need a brain in this practice. Shut if off for 10 minutes. Put on some songs. And repeat the hand movement like a madman. When your biceps start to hurt from the repetitive carry-up of your hands, you know you are doing it right.
All the best locking dancers have gone through this. And now, they can do it so fast and so effortlessly, they can put a smiley confident face on while moving around the stage. It is nothing but a craftsmanship.
Do you feel envious? Don't worry. That will be the new funk-locking you in a few months.
YouTube Tutorial Resource
I've collected locking video tutorial on pacing. Unfortunately there are not many. This is for your reference.
- Video by Trenirovka. It's in Russian, but he covers many variations of pacing.
- This one's in Japanese by RisingSchool. He uses right hand only, but shows the clean angle.
- This one is in English by udhaydance. He does describe the up and down concept. But I'm not too happy with his skill.
