How to Shuffle Dance for Beginners: T-Step Player + the 6 Basic Steps in Order
Learn to shuffle dance in the right order, from the Running Man to the Spongebob. Watch the T-step in slow motion, learn its 3 practice drills, and fix what makes a beginner's shuffle look stiff.

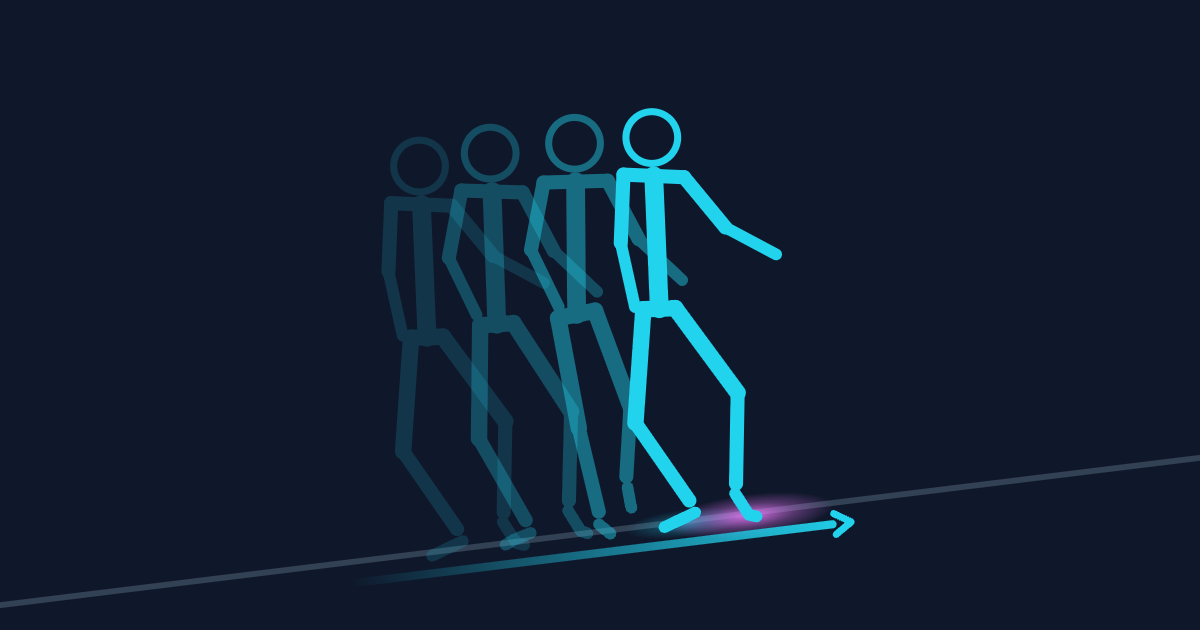
You've seen the videos. Someone in sneakers on a parking lot, feet flying so fast that they look like they are floating across the ground.
That's shuffle dance.
And when you try to learn it, most tutorials throw a full routine at you. Running Man, kick, spin, T-step, all in 8 counts at 128 BPM. You pause the video 30 times and still have no idea what your feet are doing.
The problem is the order. Shuffle is only a handful of basic steps. Each one teaches your body something the next one needs. Learn them in the right order and they click together on their own.
In this post, I'll give you that order, then break down the one step most beginners get stuck on: the T-step. Watch it in slow motion from the front, step through it one count at a time, and practice along with the beat.
T-Step Player
Watch the T-step from the front and from above, build it drill by drill, step through it one count at a time, and practice with a house beat.
Glow = the foot carrying your weight. Blue dot (from above) = the point the foot swivels on.
Count 1: Swivel the left foot on the ball so the heel moves right and the toes point out. At the same time, tap the right foot out to the right.
Drill 1, heel-toe on both feet: Don't bounce. This drill is not about rhythm yet. Think of it like creeping sideways along the floor, using your toes and heels.
Drill 2, heel-toe on one foot: Hold a wall or a chair at first if you need it. Use your hips. Turning the hips with the foot makes sideways travel much easier.
Drill 3, the full T-step: Open, tap. Close, lift. Keep your weight on the standing foot the whole time. The free foot only touches the floor lightly with the toes.
Why does mine look wrong?
Correct on the left, the problem on the right. Both at 0.5x.
The tap is a touch, not a step. All your weight stays on the standing foot. Move it onto the tapping foot and the standing foot can't swivel anymore, so the step gets stuck.
Travel in a straight line. You think you're going sideways, but you're going a little diagonal, or a little backward every time. Practice facing a mirror and check that you travel in a straight line.
Use your hips, and make each swivel bigger. When the swivels are this small, you barely move. Big swivels are what make the T-step look good.
What Is Shuffle Dance?
Shuffle is a rave and club dance that started in Melbourne, Australia in the late 80s. That's why some people still call it the Melbourne Shuffle. Later, the UK version called Cutting Shapes made it popular again on YouTube and TikTok.
It's danced to house and EDM, usually around 120 to 130 BPM. That's much faster than hip hop. There is almost no time to pose or stop. You keep stepping nonstop, the same way the beat in club music never stops.
One small note. There is also a single step called the "shuffle step." Same name, different thing. In this post, shuffle means the dance style.
The Order I'd Teach
Here's the order. Each step gets you ready for the next one.
1. Running Man
Start here. It teaches the basic rhythm of shuffle: one knee comes up while the other foot slides back. It also teaches you to stay light on your feet.
The most important point is the standing foot. It has to slide back as the other foot comes down. Without that slide, you are just marching in place.
Learn the basic version in the Running Man post first, then speed it up for EDM with Running Man for Shuffling.
2. T-Step
The Running Man moves you forward and back. The T-step moves you sideways. It's also the first step where your whole body weight sits on one leg, so it builds the balance you need for everything after it.
This is the step I break down in this post.
3. Charleston
The Charleston teaches your feet to swivel in and out on the spot, and to switch quickly between front and back. You'll use those swivels everywhere.
With Running Man, T-step and Charleston, you can already freestyle. Mix the 3, and it already looks like shuffle. See the Charleston Player.
4. Kicks
Next, add kicks. To the front, to the back or to the side, in between your other steps. Kicks give your footwork power and a clear accent.
5. Back Running Man
The Running Man in reverse. It's a bit harder than the original, but it feels great once it clicks, like you're doing a light, tricky step without effort.
It's also the base for the Spongebob, so get it here first.
6. Spongebob
The Spongebob is a hop and a kick, moving sideways. It needs the balance from the T-step, the clean kick from step 4 and the back-and-forth from the Back Running Man, so it comes last. See the Spongebob Player.
How the T-Step Works
The T-step looks like you're gliding sideways on one foot while the other foot taps out to the side. It's named after the shape your feet make when the free foot taps.
The secret is that your 2 feet have completely different jobs.
The standing foot does the traveling. It carries all of your weight and swivels on the heel and the ball of the foot, one after the other. That's what moves you sideways.
The free foot only taps. It carries no weight. It taps out to the side, lightly on the toes, and comes right back up.
Once you see it this way, the T-step is just a heel-toe swivel on one leg, plus a tap.
Build the T-Step in 3 Drills
Don't jump straight into the full step. Build it in 3 drills.
Drill 1: Heel-Toe on Both Feet
Stand with your feet together. Keep both feet pointing the same way and travel sideways by moving your heels, then your toes, then your heels, then your toes. Go right, then come back left.
Don't bounce. This drill is not about rhythm yet. Think of it like creeping sideways along the floor, using your toes and heels.
Most people can do this one right away.
Drill 2: Heel-Toe on One Foot
Now lift one foot and do the same thing on one leg.
This is where it gets hard. With 2 feet, your weight was split. Now all of it sits on one leg, and that heel-toe movement suddenly won't go the way you want. You might lose your balance and put the other foot down. That's normal. Your body gets used to it.
A few tips.
- Hold a wall or a chair at first if you need it.
- Use your hips. Turning the hips with the foot makes sideways travel much easier.
- Once it feels stable, make each swivel bigger. At first you only move a few centimeters each time. With practice, you can cover a lot more ground. Big swivels are what make the T-step look good later.
If you can travel smoothly on one leg, the T-step is almost done.
Drill 3: Add the Tap
Do Drill 2 again. Now, every time your standing foot opens up with the toes pointing out, drop the free foot and tap it out to the side. When the standing foot turns back in, lift the free foot again.
Open, tap. Close, lift. Open, tap. Close, lift.
That's the T-step.
Keep your weight on the standing foot the whole time. The free foot only touches the floor lightly with the toes.
T-Step Counts
Here's the T-step going to the right. You stand on your left foot, and your right foot taps.
- Count 1: Swivel the left foot on the ball so the heel moves right and the toes point out. At the same time, tap the right foot out to the right.
- Count 2: Swivel the left foot on the heel so the toes move right. Lift the right foot.
- Counts 3 and 4: Repeat. Tap on 3, lift on 4.
So you tap on the odd counts, 1 and 3, and move a bit further right with every count.
After 4 counts, do a small hop to switch feet. Now you stand on the right foot, tap with the left, and travel back to the left for counts 5 to 8.
Once you're comfortable, relax your upper body and let your arms swing lightly. It makes the step easier and looks more natural.
2 T-Step Mistakes I See the Most
Weight on the Tapping Foot
This is number 1. Beginners treat the tap like a normal side step and move their weight onto that foot. Then the standing foot can't swivel anymore, and the step gets stuck.
The tap is a touch, not a step. All your weight stays on the standing foot.
Not Going Straight Sideways
The second one is drifting. You think you're going sideways, but you're going a little diagonal, or a little backward every time. Or the swivels are so small you barely move.
Practice facing a mirror and check that you travel in a straight line. Use your hips, and make each swivel bigger.
What Makes a Beginner's Shuffle Look Bad
Even when you have the steps right, a few things give away that you just started. Here are the ones I see the most.
Arms Doing Nothing
Your feet are working hard, but your arms just hang there. Technically, you're doing it. But it looks like "oh, you learned this today."
Give your hands a simple job. For example, bring them up in front of your head on every even count in the Charleston. Or swing them down quickly on each side kick so they hit together with your foot. It doesn't have to be fancy. When your arms and feet hit together, it looks finished. If you dance with friends, matching the same arms looks amazing.
Kicking to the Side While Facing the Front
If you face straight forward and kick to the side, it looks stiff and weak. Turn your body a little and kick slightly backward, like a back kick on an angle.
Also watch your standing foot. When you kick sideways, it turns toward the kick and slides a little in the same direction. That's what makes a side kick look powerful.
Half-Hearted Charleston
In the Charleston, commit to the switch. If the swivels are half done and your feet look loose, the step looks sloppy. Clean, full swivels make it look sharp.
Heavy Landings
If you land flat on your whole foot, your weight drops into the floor and your next step gets slow and heavy. Land on the balls of your feet and stay light. Each step should spring into the next one.
Falling Apart at Full Speed
Slow counts are great for learning the foot path. But EDM is fast, and your steps get less accurate as the tempo goes up. That's true for everyone.
So don't stay in slow mode too long. Learn the shape slowly, then move up to real tempo early, and keep your form as clean as you can at speed.
One More Thing: Go Back More
This is just my taste. In shuffle and Cutting Shapes, stepping back looks cooler to me than stepping forward. When you step forward, the audience can see exactly what your foot does. When you step back, part of it is hidden, and it looks more mysterious.
Shuffle for Older Beginners
I see a lot of searches for shuffle dance over 50. Good news: there's no age limit, and the T-step drills above are slow and easy to start with.
Just a few things to keep in mind.
It's real cardio. Shuffle at full EDM tempo gets you out of breath fast. Even experienced dancers get winded after running a routine a few times. Practice in short rounds of 30 to 60 seconds, and rest in between. If you have heart or knee issues, check with your doctor before you start.
No need for high knees. High knees look powerful in videos, but they aren't required. Small, low steps on the balls of your feet look clean and are easier on your hips and knees.
Pick a floor that lets your feet turn. The T-step and the Charleston are swivels. If your shoe sticks to carpet or a rubber mat while your body turns, that twist goes into your knee. Practice on hardwood, tile or vinyl in sneakers with a smooth sole.
Start with Drill 1. Both feet on the floor is the easiest way in. Move to the one-leg drill when your balance feels ready, and use a wall.
Practice Plan
Use the player above, and climb the tempo ladder.
- 90 BPM: Learn the foot path. Tap on 1 and 3, hop, switch.
- 110 BPM: Same thing, smaller and lighter.
- 128 BPM: Real EDM tempo. Keep the swivels clean.
If 128 feels impossible, that's fine. Go back to 110, then try again tomorrow.
Point Form Summary
- Learn in order: Running Man, T-step, Charleston, kicks, Back Running Man, Spongebob
- T-step: the standing foot travels, the free foot only taps
- Build it in 3 drills: both feet, one foot, add the tap
- Tap when the standing foot opens, lift when it closes
- Weight always on the standing foot
- Travel in a straight line and make the swivels big
- Give your arms a job
- Land light, and move up to real tempo early
Basic to Advance
Shuffle looks complicated because it's fast. But it's really just a few simple steps, linked one after another.
Get the Running Man, master the one-leg swivel, and the T-step falls into place. From there, the Charleston and the Spongebob are just new ways to use the same balance.
Turn on some house music, start with Drill 1, and keep shuffling!
Video Links
- T-Step Tutorial by ゆーすけのダンス講座. It's in Japanese, but watch his standing foot. The one-leg drill is exactly what I described above.
- The T-Step in 3 Steps by Harukiのやさしいダンス教室. Also in Japanese. The same 3 drills from this post: both feet, one foot, then the tap.
- Shuffle Basics Part 1: Running Man, T-Step, Charleston by KAYLLY. In Japanese. The first 3 steps of the learning order, and how to mix them into a freestyle.
- Back Running Man and Kicks by KAYLLY. In Japanese. Watch this one for steps 4 and 5 before you go to the Spongebob.
Next Step
Do You Have Dance Talent?
Take the free Dance Ability Test to see where your natural strengths are and which style fits you best.
Take the Ability Test →